My Father’s World Adventures in U.S. History Timeline
How I put together our timeline for our second grade year using My Father’s World Adventures in U.S. History
I get a very small commission from links in this post.
Not sure how we are here already, but my oldest is starting second grade this year, which means we have been homeschooling for three years already. I have always leaned more towards a Charlotte Mason homeschooling style, but have never felt like I had the capacity to go full Charlotte Mason. Don’t get me wrong, I love great books but I love nature and handicrafts more. If I’m honest, those aspects are the biggest draw to Charlotte Mason for me, albeit the habit training is a close third.
If you’re not familiar with Charlotte Mason, she encourages keeping a Book of Centuries, which is basically a timeline of the history of the world that you add to as your learn new things. I immediately fell in love with the idea. It excited me to be able to start making connections to what was happening around the world at the same time; who was alive when electricity was invented, what famous artist was emerging, etc. I’ve read blogs from other homeschool moms how their older kids valued their Book of Centuries so much that they took it to college with them. I knew no matter what curriculum we went with, keeping a timeline was a must for us.
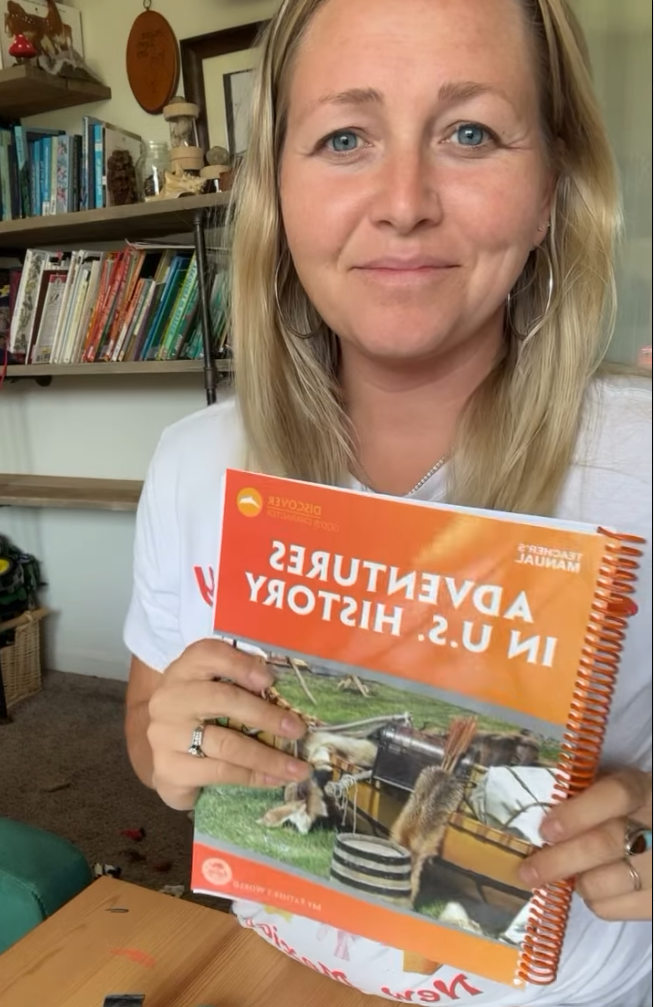
Every year I watch curriculum reviews, download samples and read threads on every type of curriculum out there. This probably creates my confusion and overwhelm than good, but it’s fun for me. There are so many great choices out there, the hard part is deciding. After reflecting on our first grade year I realized I needed more structure, more feast and more beauty – and I really needed it to be mostly open and go. I finally pulled the trigger on My Father’s World – Adventures in U.S. History. I decided I’m going to give it a solid go (I’m known to jump around when I get dissatisfied with what we are using).
As I started mapping out the first month of planning, my ADHD brain started kicking in. The amount of text, and jumping around the read notes is a bit overwhelming to me. I’m reminding myself that new things feel that way, and we are committing to this. This is nothing against the curriculum, it’s very organized – however my brain isn’t. What I struggled with the most in preparation for our school year, is not having visual examples of how to set up our timelines and binders. This is what I came up with for our timeline for My Father’s World – Adventures in U.S. History.
When designing our timeline I needed it to fit a few needs:
- -High enough off the ground the little kids can’t mess with it
- -Low enough to the ground my oldest can utilize it
- -Fit the limited wall space we have in our home
- -stay in its place all school year (so no paper timeline we roll up and store away)
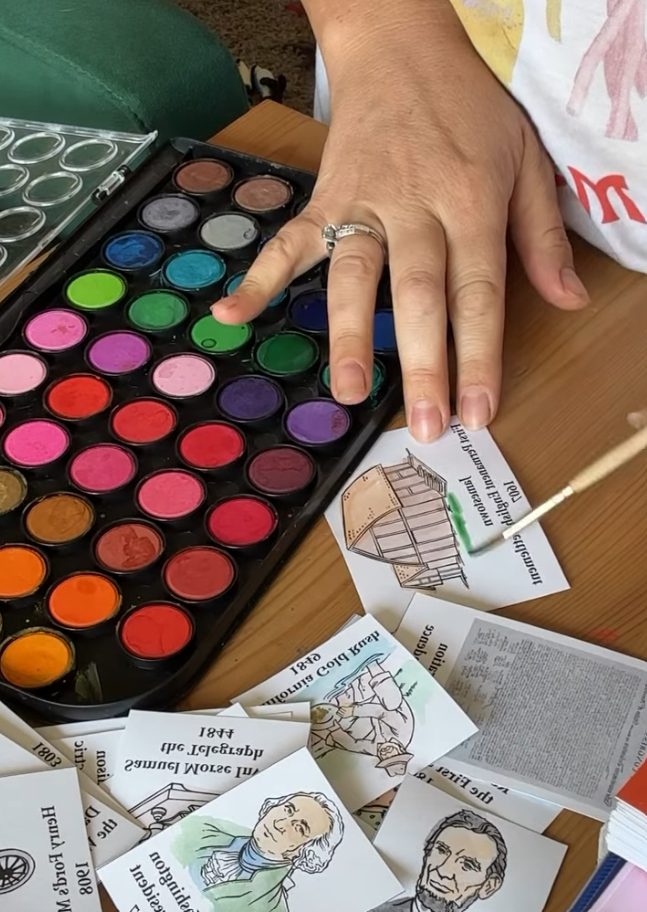
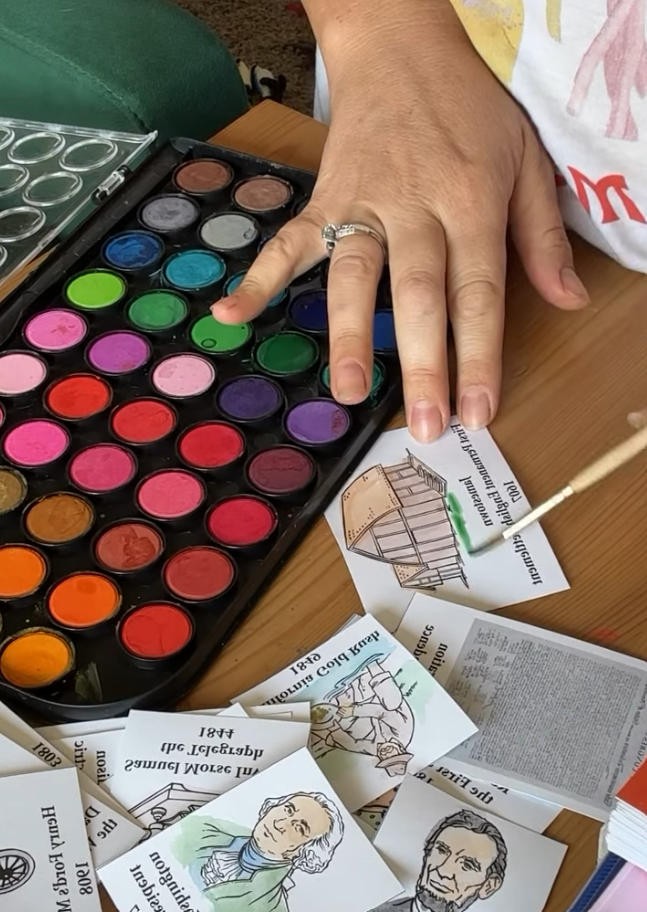
The teacher’s guide suggests coloring the timeline pieces. I believe some families have their children color them, but I wanted this to look a little more formal. Coloring with crayon or pencil seemed a little daunting so I used watercolor. It worked great, and went super fast. I just used really watered down paints and didn’t worry too much about staying in the lines. I think it turned out really nice. On a few I went back and embellished with paint markers, because at this point I was just having a lot of fun with it. This watercolor pallet is so affordable for the quality and the kids love it. We each have our own.
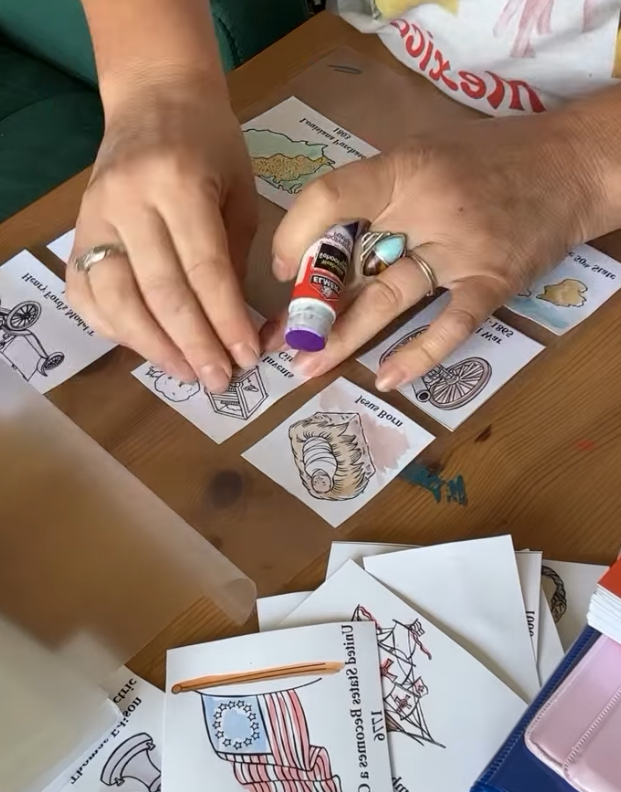
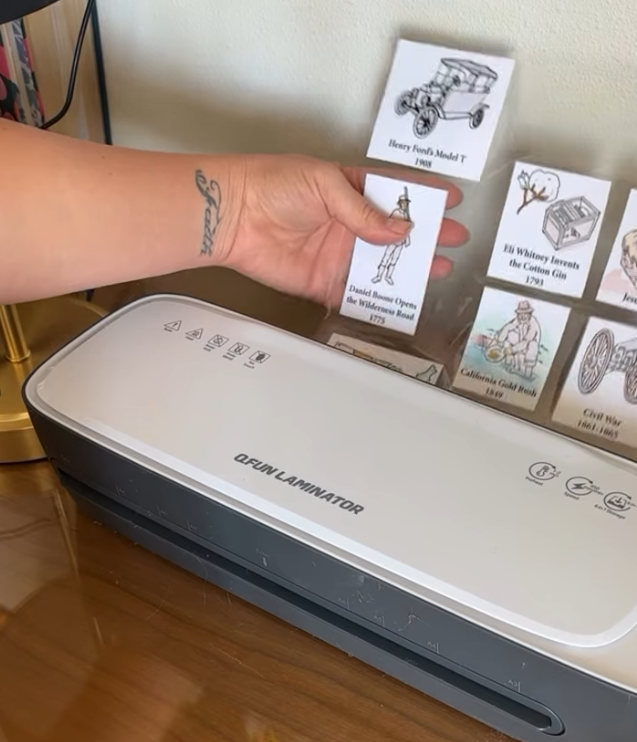
Next, I laminated them. A great hack when you are laminating multiple small pieces is to put a dot of glue down first. It helps keep everything from slipping around.
I have had this laminator for 2 years and it has worked great! It heats up so quickly. The amazon basics laminating sheets have also been great to use.
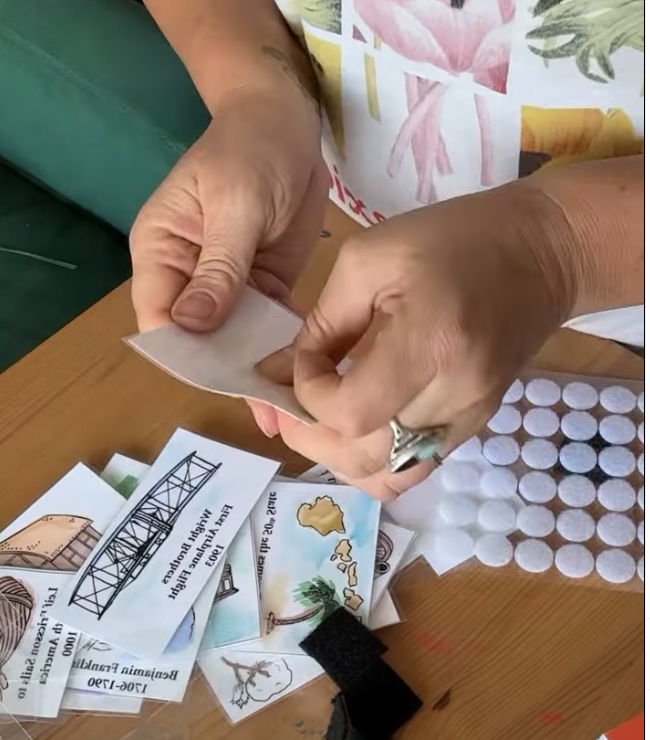
I opted for a velcro timeline which you can see at the next step. Velcro dots were then applied to the back of all the timeline pieces.
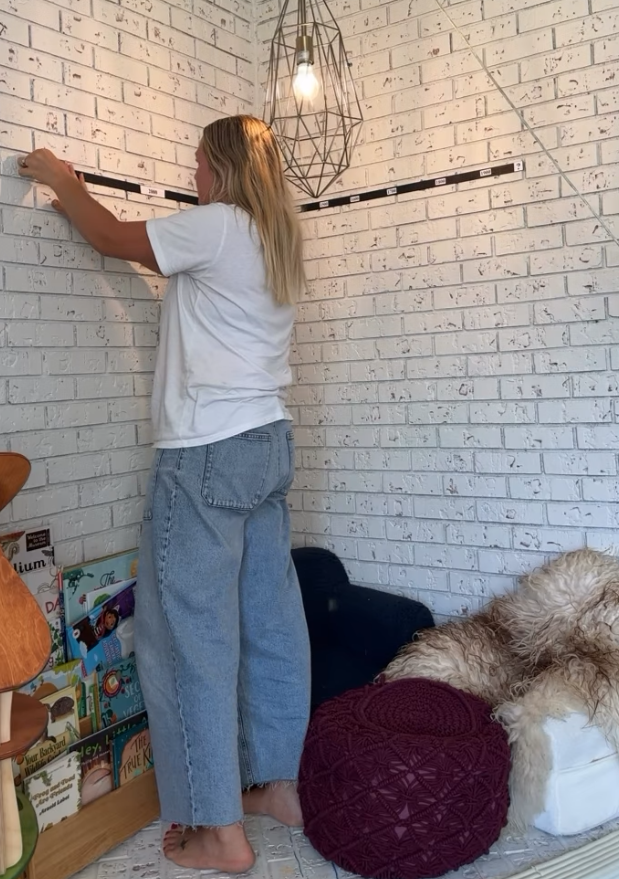
I purchased (2) three foot long 1″ strips of Velcro and stuck it to my wall because that’s all my local Walmart had, but longer would probably be better. This roll is the same price I paid for a lot more. This is a brick wall that I wasn’t’ concerned about. I don’t recommend sticking this to a nice painted wall. Instead you could leave the paper backing on, and secure to your wall using command strips or possibly even sticky tack.
I’m anticipating this being enough space. Once we get our year going, I will update so you have a better idea just how much space is needed for My Father’s World Adventures in U.S. History timeline.
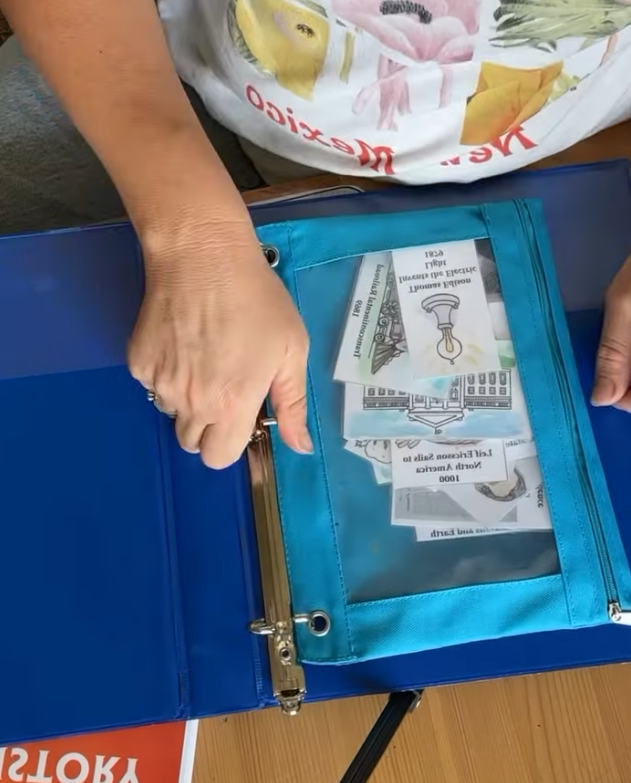
Lastly, I put all our timeline pieces in a zippered three-ring pouch and placed it in our U.S. History binder.
If you are planning your second or third grade year for My Father’s World Adventures in U.S. History, I hope you have found this helpful. I’m sure we will need to tweak things as the year moves along. I will be sure to update those things here.


